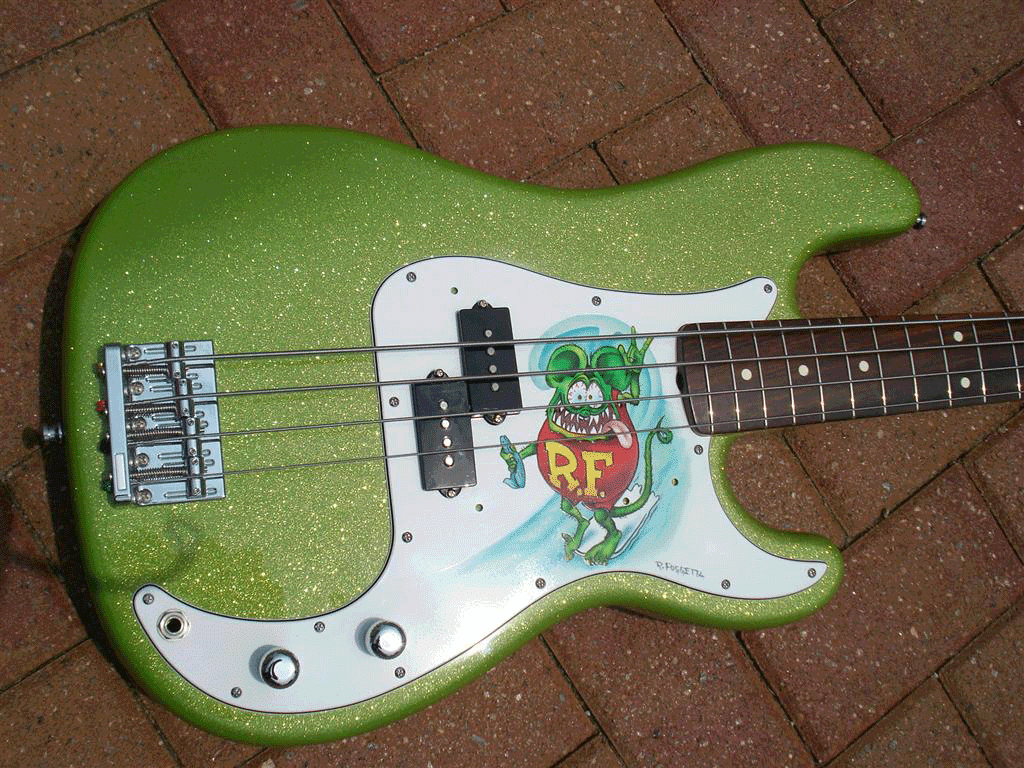
Metal Flake Application Tips for Custom Paint
If you’re new to applying metal flakes, don’t worry; we’ve got some tips to help you out. One common issue is the rough surface that can appear right after applying flakes. But fear not, with a few extra paint coats and a bit of sanding, you can smooth things out. Tip #1: Start by mixing your flakes at around 1-2 tablespoons for every quart of clear paint. The amount depends on whether you want a solid flake effect or a scattered look, letting your base coat shine through. Keep in mind that our holographic flakes, being fine in size, create a more striking color shift effect when applied more densely. Tip #2: You can spray the .004″ flakes through any nozzle, but using larger nozzles will give you denser flake coverage, especially with our bigger flake sizes. Tip #3: After spraying your flakes, you might need to smooth them down before applying the clear coat. The .004″ size can usually be covered with several coats of candy or clear without a problem. However, for the .008″ size, it’s a good idea to wet sand them before adding the clear coat. Our silver mini flakes are octagon-shaped, which reduces the need for sanding since the flakes won’t have as many corners sticking up. Consider applying at least two coats of regular clear right after applying the flakes, as this will protect against over-sanding and ruining the flake effect. Tip #4: Adding a touch of pearl over your flakes can create a fantastic paint effect. Tip #5: When painting the edges of doors, trunks, and hoods, opt for smaller flakes. Very large flakes can be challenging to smooth down without removing too much paint. Be extremely gentle around door edges when trying to get larger flakes to lay down properly.
Check out our store on Amazon Prime!

